Photographing Everyday People
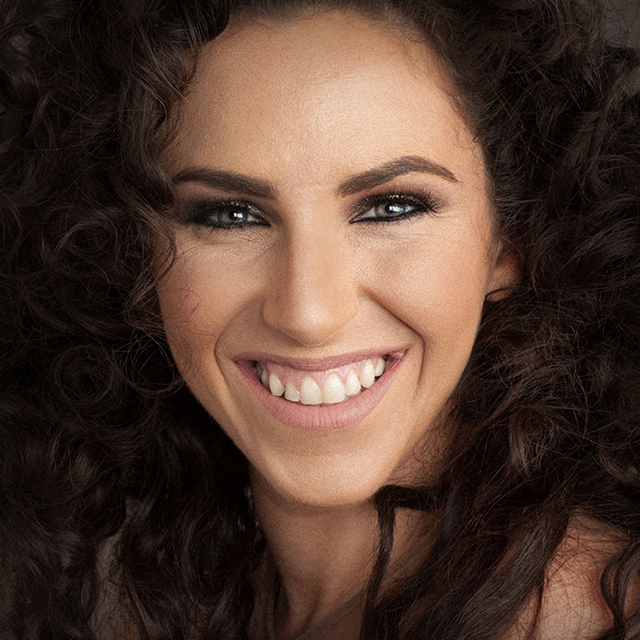
Join Lindsay Adler, a portrait and fashion photographer, to learn professional strength techniques for photographing everyday people. In this class you will learn how to utilize all of the tools at your disposal, from posing and lighting to lens choice and clothing selection to get the best possible capture possible. From there Lindsay walks you through an array of post-processing tips and tricks to deal with the most common types of challenges all portrait photographers have to face. By the end of this class you'll feel more confident in your ability to flatter any subject that steps in front of your lens.
Release Date: 2014-02-13
Lessons
Introduction
<p>Join Lindsay as she introduces the concepts covered in this class and lays the foundation for the subsequent lessons.</p>
Duration: 3 mins 45 seconds
Photographing Anyones Good Side
<p>It is your job to bring out the best in your subject by using techniques that enhance their strengths and downplay their flaws.</p>
Duration: 4 mins 54 seconds
The Double Chin
<p>There are a number of techniques, from posing to lighting, to help you photograph a person with a pronounced double chin.</p>
Duration: 8 mins 13 seconds
Curvy
<p>When photographing a person who is a bit more curvy there are a number of do's and don'ts to keep in mind.</p>
Duration: 9 mins 50 seconds
Plus Size
<p>There are additional posing and lighting techniques that can help you photograph an even more full figured person.</p>
Duration: 7 mins 48 seconds
Defined Wrinkles
<p>Lighting is one of your greatest tools for reducing the appearance of wrinkles, but makeup and Photoshop are important too.</p>
Duration: 7 mins 24 seconds
Pronounced Nose
<p>There are a variety of tools to help minimize the appearance of a more pronounced nose.</p>
Duration: 10 mins 55 seconds
Larger Forehead and Uneven Features
<p>From makeup to lens choice, there are a lot of ways to minimize the forehead and help you deal with uneven features.</p>
Duration: 9 mins 27 seconds
How Your Camera Sees
<p>Your choice of lens has a big impact on how the subject will look.</p>
Duration: 11 mins 41 seconds
Using Light to Slenderize the Subject
<p>You can use shadows to control the shape of your subject.</p>
Duration: 7 mins 45 seconds
Glasses
<p>There are a few techniques to help reduce or eliminate reflections in glasses.</p>
Duration: 3 mins 37 seconds
Clothing and Body Types
<p>The right clothing can go a long way to flattering your subjects.</p>
Duration: 8 mins 12 seconds
Photoshop Tools: Liquify
<p>Lindsay introduces some of the Photoshop tools she uses to make her subjects look their best starting with the Liquify Tool.</p>
Duration: 4 mins 45 seconds
Photoshop Tools: Beyond Liquify
<p>The Liquify Tool can be used a number of ways, but there are additional techniques that allow you to take it further.</p>
Duration: 5 mins 19 seconds
Photoshop Tools: Reducing Highlights
<p>Building on previous techniques Lindsay demonstrates a few techniques for reducing highlights on oily skin.</p>
Duration: 6 mins 22 seconds
Photoshop Tools: Wrinkles and Teeth
<p>Lindsay demonstrates techniques to soften wrinkles and brighten teeth. </p>
Duration: 12 mins 43 seconds
Photoshop Tools: Common Problems
<p>Here are techniques to deal with situations that all portrait photographers have to face at some point.</p>
Duration: 5 mins 52 seconds
Photoshop Tools: Advanced Retouching
<p>This is an advanced retouching technique involving multiple steps to separate the color and tone from the texture in a subject's face.</p>
Duration: 8 mins 35 seconds
Photoshop Tools: Double Chin
<p>Lindsay wraps up the class with a few techniques for reducing the appearance of a double chin.</p>
Duration: 5 mins 50 seconds