Edgy Photography: From Photo Shoot to Photoshop
German Photographer/Photoshop Artist Calvin Hollywood - known for his edgy, contemporary photography and composites, takes you through his entire process from the location shoot to the computer to show you how to achieve the same tough and gritty look that has become part of his signature style in the professional world.
Release Date: 2011-06-17
Lessons
Introduction
<p>Calvin Hollywood travels to historic Ybor City in Tampa, Florida to scout a cool location for this shoot.</p>
Duration: 1 mins 28 seconds
Scouting the Location
<p>Calvin explores the warehouse with his lighting assistant, Matias – taking light and texture into consideration.</p>
Duration: 3 mins 28 seconds
Model and Gear
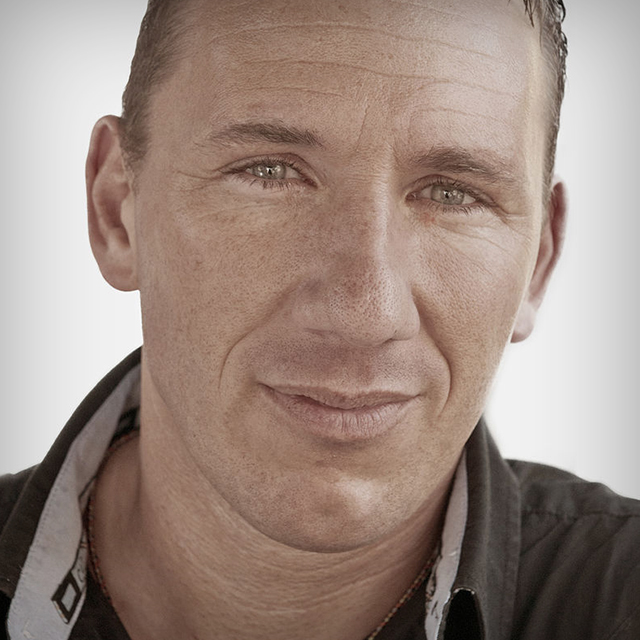
<p>This is a gritty, edgy photo shoot, hence the need for Jack, a heavily tattooed subject. Plus, Calvin gives a rundown on the lighting equipment and gear needed for this photo shoot.</p>
Duration: 2 mins 2 seconds
Lighting Setup and Photo Shoot
<p>Learn how Calvin tests for light and adjusts his settings before adding the strobe with beauty dish and grid. Then, see some different settings as more lights are added and adjustments are made during the shoot.</p>
Duration: 16 mins 46 seconds
Raw Conversion 1
<p>Back in the Kelby Training studios, Calvin explains some of the finer points of Camera Raw, what to do, and what not to do while going through the first part of his conversion process.</p>
Duration: 5 mins 54 seconds
Raw Conversion 2
<p>Calvin takes you through more of his Raw conversion process to get to the look that meets his style of photography.</p>
Duration: 7 mins 10 seconds
Raw Conversion 3
<p>The third part of Calvin's Raw process involves creating a high-contrast, highly detailed layer.</p>
Duration: 8 mins 28 seconds
Not a Passing FAD
<p>Calvin shows you his signature FAD (Freaky Amazing Details) technique.</p>
Duration: 5 mins 49 seconds
Topaz Details
<p>Learn another way to add Freaky Amazing Details by using Topaz Labs' Details 2 plug-in.</p>
Duration: 5 mins 17 seconds
True Grit
<p>Next, learn how Calvin achieves the tough, gritty, edgy look he uses when he photographs tough, gritty, edgy artists on location.</p>
Duration: 4 mins 1 seconds
Creating Vignette Light
<p>Calvin shows you his technique for creating a vignette lighting effect that can be repositioned.</p>
Duration: 4 mins 11 seconds
Fine-Tuning
<p>Making a few adjustments to the skin tone.</p>
Duration: 5 mins 19 seconds
Noise Control
<p>One of Calvin's personal techniques includes first reducing, then adding noise to give an overall airbrushed, painterly effect.</p>
Duration: 4 mins 48 seconds
The Technique That Cannot Be Named
<p>Now that 80% of his work is done, Calvin finishes up the final 20% in the only way he can – by experimenting, playing around and getting artistic.</p>
Duration: 5 mins 5 seconds
Wrap Up
<p>The class concludes with a final before/after look at the finished picture and a recap of each layer group. As always, Calvin says, if you have any questions please feel free to email him at Calvin@calvinhollywood.com</p>
Duration: 3 mins 36 seconds