Photo Recipes: Dramatic Light
Discover a cool recipe for a dramatic lighting look with Scott Kelby! Join Scott as he shows you, step-by-step, how to configure your camera, arrange the lighting, position the subject, and create a very nice, yet dramatic lighting look. You'll learn the full process, from the initial setup to the subject direction to the retouching of your best photos at the end, and all throughout the class Scott shares additional tips and tricks to help you nail the shot when you try it on your own. This look can be achieved with studio strobes or speedlights, and Scott discusses the gear you'll need for both situations, so there's no reason not to add this recipe to your bag of tricks.
Release Date: 2016-03-16
Lessons
Introduction
Join Scott as he introduces the class and discusses what will be covered in the lessons that follow.
Duration: 1 mins 15 seconds
Lighting and Camera Settings
You don't need specialized lighting equipment for this look. From studio strobes to speedlights, as long as you have a simple softbox you can create this look.
Duration: 4 mins 4 seconds
Light Placement and Tethering
After discussing the benefits of shooting tethered Scott shows you how to position the light for this look.
Duration: 6 mins 21 seconds
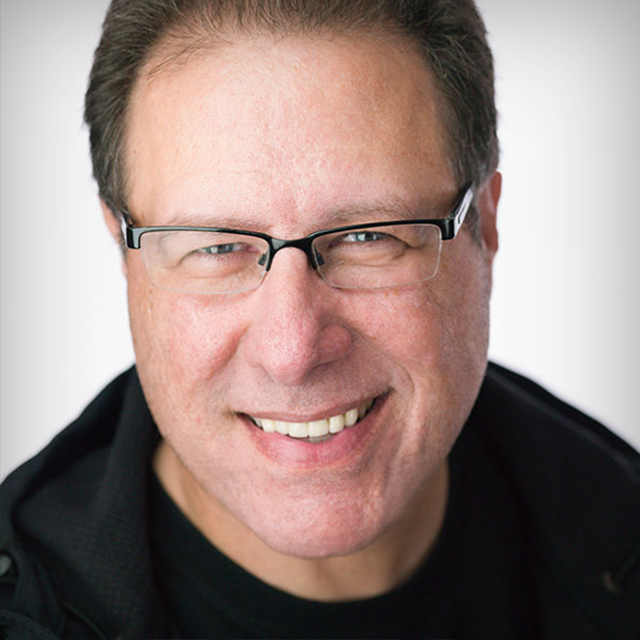
Positioning the Subject
Where you place your subject is just as important as where you place the light.
Duration: 9 mins 53 seconds
Adding a Second Light
The second light is in a strip bank softbox that can be used to add a hair light or rim light. The second light is further modified with a grid that helps to focus the spread of the light on the subject.
Duration: 9 mins 35 seconds
Making Selects and Retouching
Lightroom has a great feature, called Survey view, for helping you narrow down your shoot to just the best images. Once the selects are made it is time for retouching.
Duration: 14 mins 6 seconds
Finishing in Photoshop
With the basic retouching done in Lightroom it is time to switch to Photoshop to finish the job.
Duration: 6 mins 22 seconds